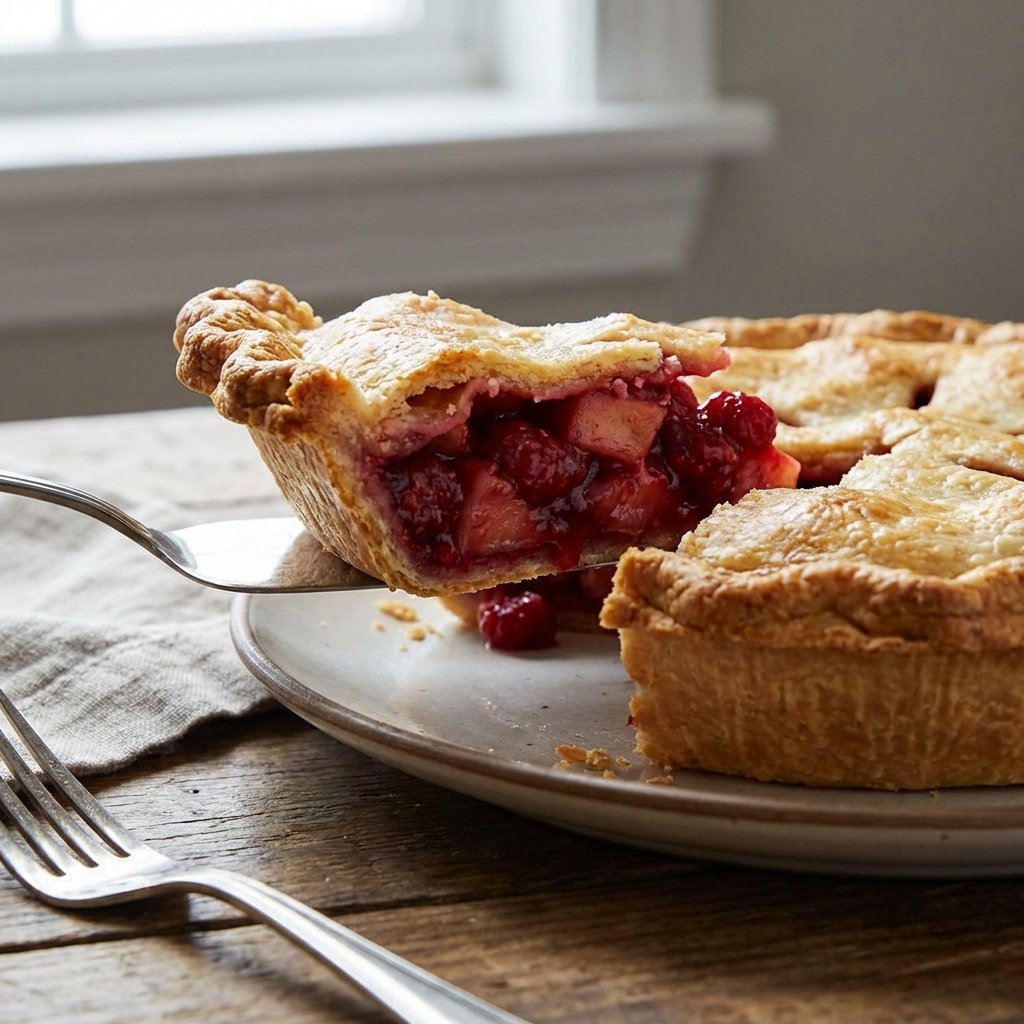
The Soggy Bottom Problem
There’s nothing more disappointing than slicing into a beautiful pie only to find the bottom crust is pale, wet, and undercooked. After years of teaching, I can tell you this is THE most common pie-making problem - but it’s also completely preventable!
Why Bottoms Get Soggy (The Science)
Understanding the problem helps you prevent it:
1. Wet Filling Meets Raw Pastry When wet filling sits directly on unbaked pastry, it creates a moisture barrier that prevents proper cooking.
2. Insufficient Bottom Heat The top of your pie gets direct oven heat, but the bottom relies on heat conducting through the pie dish.
3. Too Much Moisture in Filling Watery fillings release steam that has nowhere to go but into the pastry.
4. Wrong Oven Position Baking on the wrong rack means bottom pastry doesn’t get enough direct heat.
7 Professional Techniques to Guarantee Crispy Bottoms
Technique #1: Blind Baking (Most Effective!)
What it is: Pre-baking the pastry shell before adding filling.
When to use: Essential for custard pies, quiches, and any wet filling.
How to do it:
- Line pastry with parchment paper
- Fill with pie weights, dried beans, or rice
- Bake at 200°C for 15 minutes
- Remove weights and paper
- Bake 5-10 minutes more until lightly golden
- Cool, then add filling
Andy’s tip: Save your dried beans/rice in a jar labeled “pie weights” - reuse indefinitely!
Technique #2: The Egg Wash Barrier
What it is: Brushing raw pastry with beaten egg before adding filling creates a waterproof seal.
When to use: Quick pies where blind baking seems like too much work.
How to do it:
- Roll out pastry and line your pie dish
- Brush bottom and sides with beaten egg white (or whole egg)
- Let dry for 5 minutes
- Add filling and bake as normal
Why it works: Egg proteins cook and create a seal that moisture can’t penetrate.
Bonus tip: For extra protection, bake the egg-brushed shell for 5 minutes before adding filling.
Technique #3: The Breadcrumb Barrier
What it is: Sprinkling dry breadcrumbs or ground almonds on the bottom before adding filling.
When to use: Fruit pies, particularly juicy ones like apple or cherry.
How to do it:
- Line dish with pastry
- Sprinkle 2-3 tbsp fine breadcrumbs (or ground almonds) evenly
- Add filling on top
- Bake as normal
Why it works: Breadcrumbs absorb excess moisture from filling, keeping pastry dry.
Variations:
- Use crushed cornflakes for extra crunch
- Try ground nuts (almonds, hazelnuts) for flavor
- Semolina works well for fruit pies
Technique #4: Preheat a Baking Sheet
What it is: Baking your pie on a preheated metal sheet for maximum bottom heat.
When to use: Every time! This is my secret weapon.
How to do it:
- Place a metal baking sheet in oven while preheating
- Let it get REALLY hot (full 20-30 minutes)
- Place pie dish directly on hot sheet
- Bake as normal
Why it works: The hot sheet conducts intense heat to the pie bottom, cooking it faster than the filling can make it soggy.
Andy’s tip: Use a heavy-duty sheet - thin ones warp. I use a cast iron pizza pan!
Technique #5: Bake on the Lowest Rack
What it is: Positioning pie on the lowest oven rack for maximum bottom heat.
When to use: Combined with other techniques for extra insurance.
How to do it:
- Place oven rack in lowest position
- Preheat oven with rack in place
- Bake pie on this low position
Why it works: Heat rises, so bottom rack gives more direct heat to the base.
Pro tip: Combine with preheated baking sheet for ultimate bottom heat!
Technique #6: Thicken Your Filling Properly
What it is: Ensuring filling is thick enough before it goes in the pie.
When to use: Savory pies like chicken, beef, or curry.
How to do it:
- Cook filling completely before assembling pie
- Reduce until very thick (should coat back of spoon)
- If too thin, add cornflour slurry (1 tbsp cornflour + 2 tbsp water)
- Cool filling before adding to pastry
Andy’s rule: If you think it’s thick enough, reduce it 5 more minutes!
Common mistakes:
- ❌ Adding hot filling to pastry (makes it soggy)
- ❌ Thinking “it’ll thicken in the oven” (it won’t enough)
- ✅ Cool filling completely, even refrigerate overnight
Technique #7: Use a Metal Pie Dish
What it is: Switching from ceramic/glass to metal for better heat conduction.
When to use: If you consistently get soggy bottoms.
Why it works:
- Metal conducts heat faster than ceramic
- Gets hot quicker, cooking bottom faster
- Creates better browning
Best choices:
- Aluminum - Best heat conductor, lightweight
- Carbon steel - Professional choice, needs seasoning
- Cast iron - Heavy but excellent heat retention
Avoid: Glass and ceramic conduct heat slowly (though they’re pretty for serving!).
The Ultimate Anti-Soggy Strategy (Combine Methods!)
For GUARANTEED crispy bottoms, I use this combination:
Step 1: Roll pastry, line metal pie dish Step 2: Brush bottom with egg white, let dry Step 3: Preheat baking sheet on lowest rack Step 4: Ensure filling is cold and very thick Step 5: Assemble pie, place on hot sheet Step 6: Bake on lowest rack at 200°C
Success rate: 99.9% crispy bottoms!
Specific Pie Types: Best Techniques
For Fruit Pies (Apple, Cherry, Peach):
- Toss fruit with cornflour (2-3 tbsp per pie)
- Sprinkle breadcrumbs on bottom pastry
- Bake on preheated sheet at 220°C for first 15 minutes
- Reduce to 180°C for remaining time
For Custard/Cream Pies:
- MUST blind bake - no shortcuts!
- Egg wash after blind baking
- Cool shell completely before adding filling
- Bake at lower temp (160°C) to set custard gently
For Savory Pies (Chicken, Beef, Curry):
- Cook filling day before and refrigerate
- Reduce filling until very thick
- Cool completely (even cold from fridge is fine)
- Preheat sheet on lowest rack
- Bake at 200°C for crispy pastry
For Double-Crust Pies:
- Preheat baking sheet (essential!)
- Cut generous steam vents to release moisture
- Brush bottom with egg before filling
- Bake on lowest rack for first 20 minutes
- Move to middle for even browning after
Quick Troubleshooting Guide
Bottom is still pale after full baking time:
- Oven too low (check with thermometer)
- Pie dish too thick (switch to metal)
- Didn’t use preheated sheet
Bottom is raw in the middle:
- Filling was too hot when added
- Filling wasn’t thick enough
- Need to blind bake first
Bottom is burnt but top is pale:
- Oven too hot
- Baked too low in oven for too long
- Use foil shield on edges
Pastry is cooked but filling is raw:
- Oven too hot (pastry cooked before filling)
- Filling pieces too large (especially meat)
- Cover with foil, reduce temp, bake longer
Common Myths Debunked
Myth #1: “Ceramic dishes are better for pies” Truth: Metal conducts heat better, giving crisper bottoms. Use ceramic for serving if you like the look.
Myth #2: “You can’t prevent soggy bottoms with wet fillings” Truth: Blind baking + egg wash makes it totally possible!
Myth #3: “Glass dishes let you see when bottom is done” Truth: By the time you can see browning, the filling has already made it soggy. Prevention is better!
Myth #4: “Higher temperature fixes everything” Truth: Too high burns the top before cooking the bottom. Preheated sheet + correct temp works better.
Professional Baker’s Checklist
Before assembling your pie, check:
☐ Is my filling thick enough? (Should coat spoon thickly) ☐ Is my filling completely cool? (Room temp or cold) ☐ Did I preheat the baking sheet? (20+ minutes) ☐ Is my oven rack on the lowest position? ☐ Did I brush pastry with egg white? ☐ For wet fillings: Did I blind bake? ☐ Is my oven actually at temperature? (Use thermometer) ☐ Do I have a plan for steam vents?
Advanced Tips
For Competition-Level Results:
- Par-bake bottom crust for 10 minutes before adding filling
- Use metal pie weights (better than beans)
- Freeze assembled pie for 30 minutes before baking
- Start at high temp (220°C) for 15 mins, then reduce
- Rotate pie halfway through baking for even browning
The Restaurant Trick: Brush bottom crust with melted white chocolate or butter + cornflour mixture. Creates invisible moisture barrier with no flavor change.
Key Takeaways
✅ Preheated baking sheet is your best friend ✅ Cool, thick fillings are essential ✅ Metal dishes > ceramic for crispy bottoms ✅ Blind baking eliminates 90% of soggy bottom issues ✅ Combine multiple techniques for insurance ✅ Lowest oven rack = more bottom heat
Remember: Every professional baker uses these techniques. Soggy bottoms aren’t inevitable - they’re preventable! Follow these methods and you’ll serve perfect pies every time.